Home > Configuring Email Marketing Tools
Configuring Email Marketing Tools
You can configure available Email Marketing Tools from this option.
Go to the Global Settings > Opt-ins Tab to configure Email Marketing Tools.
To configure tool, you just need to verify your Email Marketer account by entering API key and other required details. And after verification, the system will fetch all the list name/campaign name from your account.
After configuration of a Marketing Tools, goto opt-ins option in add/edit form, there you can select opt-in tools to add a subscriber to list when they submit a form on your site.
So, whenever anyone will submit a form, that user will be added to a selected list of a specific tool as subscriber automatically. We have internally mapped First Name, Last Name & Email Address field of specific form with Email Marketing Tools.
Configuring Email Marketing Tools :
Aweber
Please note that the Aweber mechanism has been changed in ARForms version 3.7. Now it will authorize using ARForms application instead of your application. So you do not need to create AWeber application.
Please note that if you want to disable confirmation opt-in (opt-in or double opt-in) you need to contact Aweber support to disable it for your list.

Following are steps to configure and authorize Aweber in ARForms
- First Click on the
Generate Authorization Codebutton. you will get a popup window where you need to allow access to the Application.
Note: If you are using ARForms Version lower than 4.3.3 and higher than 3.7 then you just need to click on Authorize button. It’ll open a dialog box to allow access to the application.
Note: If you are using ARForms version lower then 3.7 then you need to enter your “Consumer key” and “Consumer Secret” obtained while application was created. Then click on
Continuebutton. It will open a dialog box to authenticate your Aweber account.
- If you’re not logged in then it’ll ask you to enter AWeber username and password.
- After that, click on the “Allow Access” button.
- Next you will be redirected and get an Authorization Code, you need to copy that authorization code and paste it in ‘Authorization Code’ text box in the ARForms > General Settings > Email Marketers page and then click Authorize button.

Note: You can refresh your list names anytime by clicking the link “Refresh List”. You can Deactivate the integration of your account with your system by clicking the link “Delete Configuration”.
- Click on Save button.
- Now go to
ARForms->Add/Edit Form, here you will see Opt-ins section. You will see tabs for all configured opt-ins with a checkbox. Go to Aweber tab, enable Aweber, and select List in which you wish to add all user’s email address, in your Aweber mail list.

MailChimp
Get API Key from Mailchimp Application
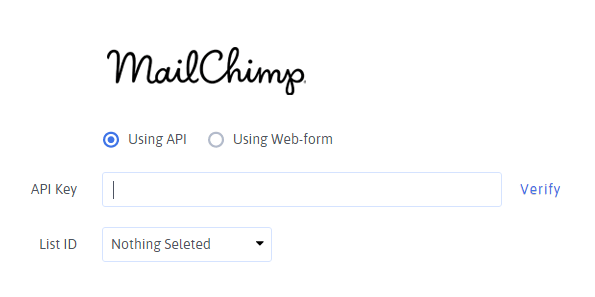
First of all login to your Mailchimp account and click your profile name to expand the Account Panel, and choose Account.Then, Click on Extras drop-down menu and choose API keys.You can copy an existing API key OR click the Create A Key button for creating a new key.
- Please Enter your “API Key” obtained from your Mailchimp account.
- Click on “Verify” link.
- That’s all!! System will verify your account and fetch all list names from your account. Select default List name to add subscribes.
- If you want to enable double opt-in method for Mailchimp, then select “Enable double opt-in” checkbox. Note: You can refresh your list names anytime by clicking the link “Refresh List” You can Deactivate the integration of your account with your system by clicking the link “Delete Configuration”.
- Click on Save button.
- Now go to
ARForms->Add/Edit Form,here you will see Opt-ins section. You will see list of all configured opt-ins with checkbox. Select checkbox for Mail Chimp and select List in which you wish to add users emails , in your Mail Chimp mail list.
GetResponse
Get API Key from GetResponse Application
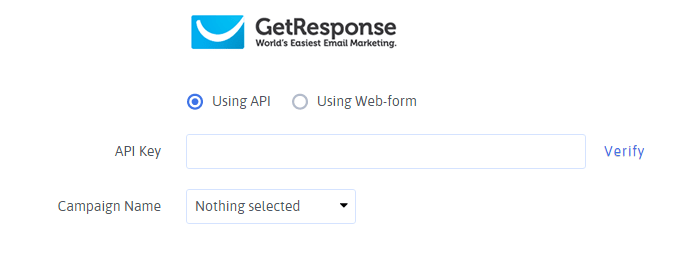
Login to your GetResponse Account.
You can find API Key under My account > Account details > API & oAuth.
- Please Enter your “API Key” obtained from your GetResponse account.
- Click on “Verify” link.
- That’s all!! System will verify your account and fetch all campaign names from your account. Select default campaign name to add subscribes. Note: You can refresh your campaign names anytime by clicking the link “Refresh List”. You can Deactivate the integration of your account with your system by clicking the link “Delete Configuration”.
- Click on Save button.
- Now go to
ARForms->Add/Edit Form, here you will see Opt-ins section. You will see the list of all configured opt-ins with a checkbox. Select checkbox for GetResponse and select List in which you wish to add users emails, in your Mail Chimp mail list.
iContact
To configure iContact you need an account with
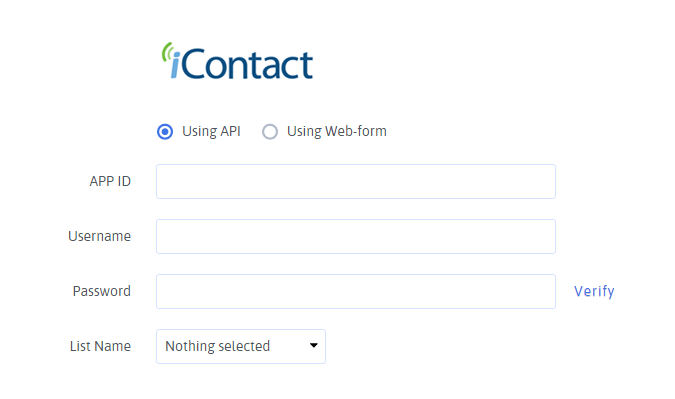
To get APP ID you need to register first with iContact (you must have an account with iContact).
Step to get APP ID :
- Log in to your iContact account. (if you are logging into the sandbox, use the sandbox username and password) For sandbox click here and for Production account click here.
- Provide a name for the application and a description for the application. Click Save.
- The API-AppId is displayed. Note: For security purposes, iContact’s API uses your AppId to identify your application.
- Click the link to “enable the AppID for your account”.
- Now go to
ARForms->Add/Edit Form,here you will see Opt-ins section. You will see list of all configured opt-ins with checkbox. Select checkbox for iContact and select List in which you wish to add users emails , in your Mail Chimp mail list.
Constant Contact
Get API Key and Access Token from Constant Contact Application
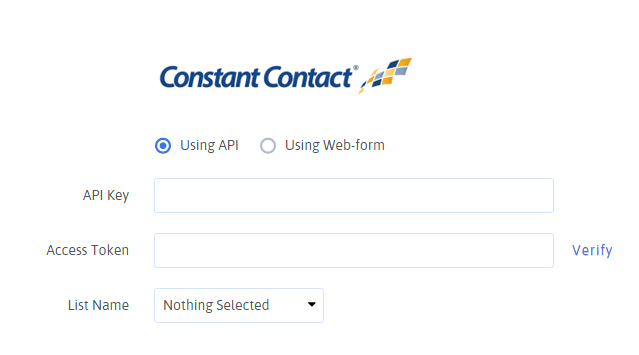
Sign up for a Mashery account or log in.Confirm your account, if it’s new. Then, Register an Application.After Registration an Application API Key will be assigned to your application.
Fill your API Key into this page (if not already filled in) and click Get Access Token.
Getting an access token requires a Constant Contact account. When you click on Get Access Token Than you are taken to a Constant Contact account sign up page. Create a new account, or if you have an existing Constant Contact account (NOT your Mashery developer account), sign in.
- Please Enter your “API key” and “Access Token” obtained from your Constant Contact account.
- Click on “Verify” link.
- That’s all!! System will verify your account and fetch all list names from your account. Select default List name to add subscribes. Note: You can refresh your list names anytime by clicking the link “Refresh List” You can Deactivate the integration of your account with your system by clicking the link “Delete Configuration”.
- Click on Save button.
- Now go to
ARForms->Add/Edit Form,here you will see Opt-ins section. You will see list of all configured opt-ins with checkbox. Select checkbox for Constant Contact and select List in which you wish to add users emails.
GVO
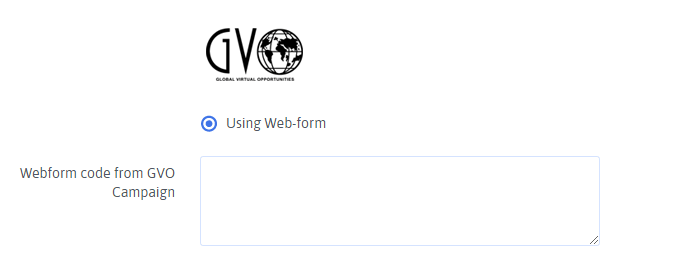
Login into your GVO account to get your webform and just copy paste it in global setting in email marketing tool section under GVO textarea. After that all you need to do is just goto ARForms->Add/Edit Form ,here you will see Opt-ins section. You will see list of all configured opt-ins with checkbox. Select checkbox for GVO.
eBizAC.com
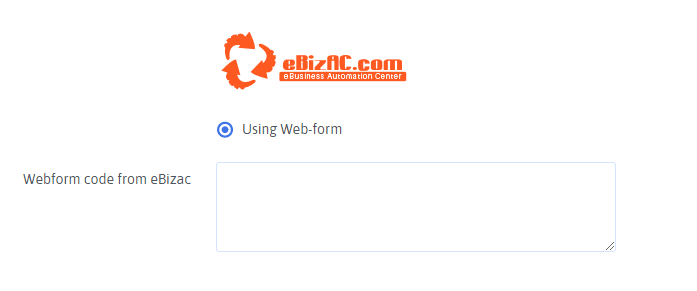
Login into your eBizAC account to get your webform and just copy paste it in global setting in email marketing tool section under eBizAC textarea. After that all you need to do is just goto ARForms->Add/Edit Form ,here you will see Opt-ins section. You will see list of all configured opt-ins with checkbox. Select checkbox for eBizAC.
Madmimi
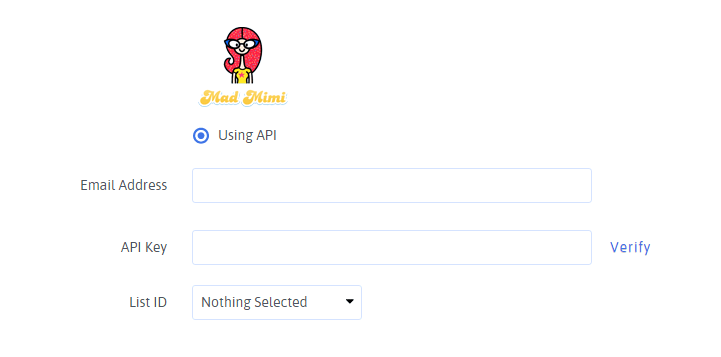
Get API Key from Madmimi Application
Login to your Madmimi account, you will observe an Account tab on top left corner, click on that you will see Settings and Billing tab further, in that tab you will see API tab. So, the steps to get API is Madmimi(after login) > Account > Settings & Billing > API .
Again for Adding Subscriber/Audience List you have to visit to Madmimi(after login) > Audience > symbol of plus (+).. After getting your API key you just need to follow below steps to configure it with your ARForms.
- Please Enter your “API key” and “Access Token” obtained from your Madmimi account.
- Click on “Verify” link.
- That’s all!! System will verify your account and fetch all list names from your account. Select default List name to add subscribes.Note:You can refresh your list names anytime by clicking the link “Refresh List” You can Deactivate the integration of your account with your system by clicking the link “Delete Configuration”.
- Click on Save button.
- Now go to
ARForms->Add/Edit Form,here you will see Opt-ins section. You will see list of all configured opt-ins with checkbox. Select checkbox for Madmimi and select List in which you wish to add users emails.
MailerLite
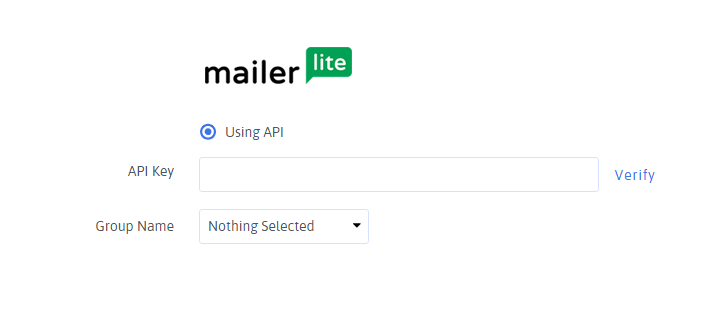
Get API Key from MailerLite Application
First of all login to your MailerLite account and click your profile name to expand the Account Panel, and go to Integration -> Developer API. Select your API key from here to use in ARForms configuration. Now, let’s see MailerLite configuration in ARForms.
- Please enter your “API Key” obtained from your MailerLite account.
- Click on “Verify”.
- That’s all!! System will verify your account and fetch all group names from your account. Select default group name to add subscribers for.
Note:
You can refresh your group names anytime by click on the link “Refresh List”.
You can Deactivate the integration with your MailerLite account by click on the link “Delete Configuration”. - Click on Save button.
- Now go to
ARForms -> Add/Edit Form -> Opt-ins. Here you will see tabs of all inbuilt opt-ins. Select MailerLite tab and Enable MailerLite you will get dropdown visible where you need to select your group name in which you wish to add subscribers.
Please note, that if Subscriber already exist with same email address in any group, will not be added in your group.
Sendinblue
Get API Key from Sendinblue Application
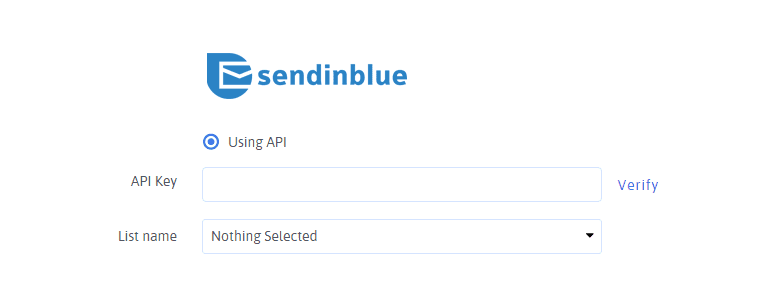
First of all login to your Sendinblue account and click your profile name to expand the Account Panel, and go to SMTP & AI -> API Key. Select your API key from here to use in ARForms configuration. Now, let’s see Sendinblue configuration in ARForms.
- Please enter your “API Key” obtained from your Sendinblue account.
- Click on “Verify”.
- That’s all!! System will verify your account and fetch all group names from your account. Select default group name to add subscribers for.
Note:
You can refresh your List names anytime by click on the link “Refresh List”.You can Deactivate the integration with your Sendinblue account by click on the link “Delete Configuration”. - Click on Save button.
- Now go to
ARForms -> Add/Edit Form -> Opt-ins. Here you will see tabs of all inbuilt opt-ins. Select Sendinblue tab and Enable Sendinblue you will get dropdown visible where you need to select your List name in which you wish to add subscribers.
Please note, You cannot manually add List to Dynamic Lists so please create Static Lists in your Sendinblue Account from
Lists -> Add a New List.If Subscriber already exist with same email address in any list, then it will not be added in your list.
HubSpot
Get API Key from HubSpot Application
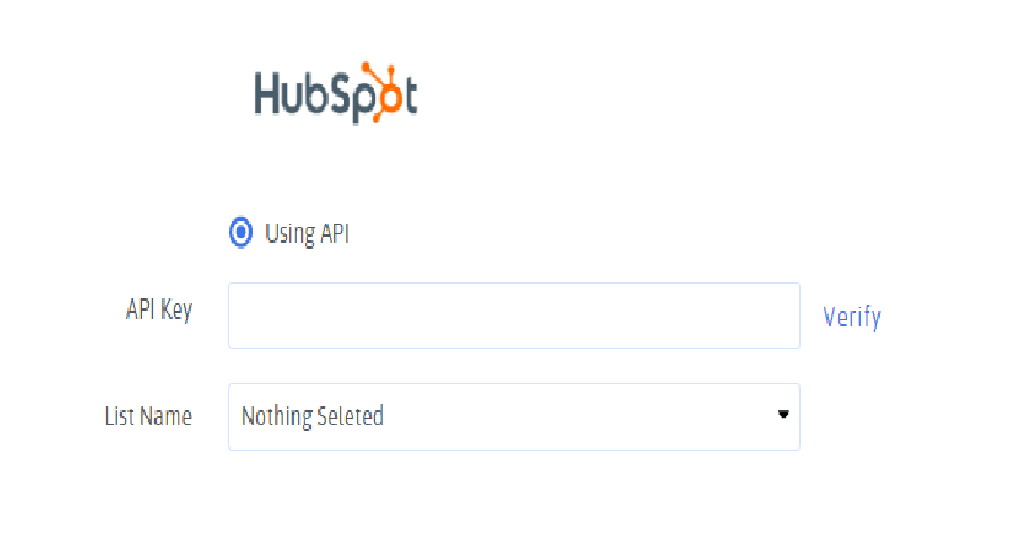
First of all login to your HubSpot account and click your account name in the top right corner and go to Integration, then in the left sidebar menu, navigate to Integrations -> API key. Now click Show key button and get your API key from here to use in ARForms configuration. Now, let’s see HubSpot configuration in ARForms.
- Please enter your “API Key” obtained from your HubSpot account.
- Click on “Verify”.
- That’s all!! System will verify your account and fetch all List names from your account. Select default List name to add subscribers.
Note:
You can refresh your List names anytime by click on the link “Refresh List”. You can Deactivate the integration with your HubSpot account by click on the link “Delete Configuration”. - Click on Save button.
- Now go to
ARForms -> Add/Edit Form -> Opt-ins. Here you will see tabs of all inbuilt opt-ins. Select Hubspot tab and Enable Hubspot you will get dropdown visible where you need to select your List name in which you wish to add subscribers.
Please note, You cannot manually add List to Dynamic Lists so please create Static Lists in your Hubspot Account from
Contacts -> Lists -> Create List. If Subscriber already exist with same email address in any list, then it will not be added in your list.
Convertkit
Get API Key & API Secret from ConvertKit Application
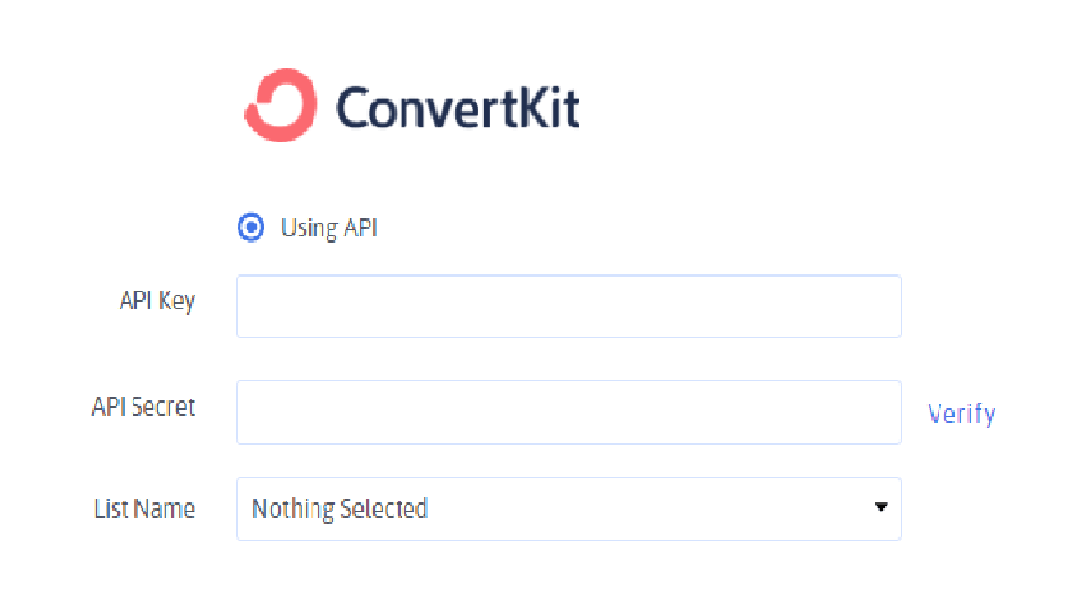
First of all login to your ConverKit account and click your account name in the top right corner and here you get your API key, now for API Secret you have to click on show. Now you get your API key & API Secret from here to use in ARForms configuration. Now, let’s see ConvertKit configuration in ARForms.
- Please enter your “API Key” and “API Secret” obtained from your ConvertKit account.
- Click on “Verify”.
- That’s all!! System will verify your account and fetch all Form names from your account. Select default Form name to add subscribers.
Note:
You can refresh your List names anytime by click on the link “Refresh List”. You can Deactivate the integration with your Convertkit account by click on the link “Delete Configuration”. - Click on Save button.
- Now go to
ARForms -> Add/Edit Form -> Opt-ins.Here you will see tabs of all inbuilt opt-ins. Select ConvertKit tab and Enable ConvertKit you will get dropdown visible where you need to select your Form name in which you wish to add subscribers.
Please note, You can enable Auto-confirm new subscribers option otherwise subscriber get mail on registrated mail id for confirmation. If Subscriber already exist with same email address in any Form, will not be added in your Form.
Drip
Get API Token & Account ID from Drip Application
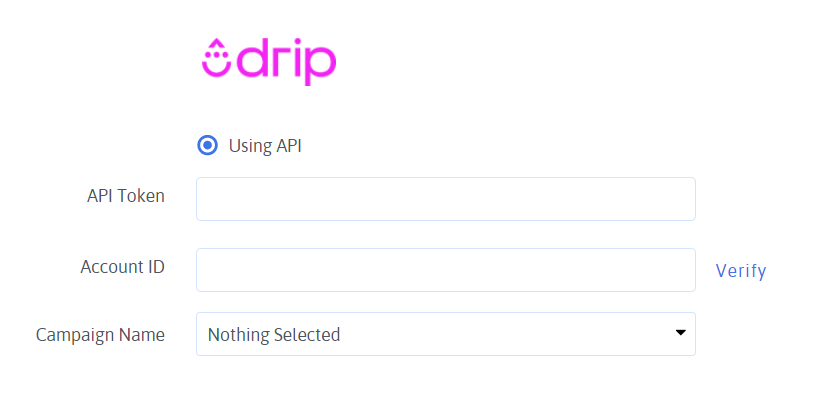
First of all login to your Drip account and click on the settings icon in the upper right-hand corner then click on User Settings and here you get your API Token, now for Account ID, you have to click on Settings icon -> Account here you get your Account ID. Now you get your API Token & Account ID from here to use in ARForms configuration. Now, let’s see Drip configuration in ARForms
- Please enter your “API Token” and “Account ID” obtained from your Drip account.
- Click on “Verify”.
- That’s all!! The system will verify your account and fetch all Campaign names from your account. Select default Campaign names to add subscribers.
Note:
You can refresh your Campaign names anytime by click on the link “Refresh List”.
You can Deactivate the integration with your Drip account by click on the link “Delete Configuration”. - Click on the Save button.
- Now go to
ARForms -> Add/Edit Form -> Opt-ins. Here you will see tabs of all inbuilt opt-ins. Select Drip tab and Enable Drip you will get dropdown visible where you need to select your Campaign name in which you wish to add subscribers.
Please note,
If Subscriber already exists with the same email address in any Campaign, it will not be added to your Campaign.