Home > Zapier
Zapier
Zapier for ARForms is an extension of ARForms that allows you to connect apps you use every day to automate tasks and save time and ARForms Zapier Addon is a bridge between Zapier’s back-end interface and ARForms plugin.
This add-on will allow you to synchronize your website data with other apps using Zapier. You can integrate different triggers with Zapier.
ARForms Zapier is just another WordPress plugin that you can install and manage just like other WordPress plugins. ARForms Zapier requires at least version 3.0 of ARForms. Please make sure that your ARForms plugin is up to date before installing this extension.
Note: Please meet the minimum requirement of PHP version 5.6 and WordPress version 4.5
ARForms – Zapier Addon Key Features
- Easy Installation
- Easy integration with other apps using Zapier
Steps For Installation And Activation
You can install plugin either of these two methods.
- New install via FTP
- New install via the WordPress Uploader
a. Download the plugin from CodeCanyon, and extract it. You should find a directory arformszapier.
b. In your WordPress installation, upload arformszapier to wp-content/plugins/
c. Activate the "Zapier For ARForms" plugin through the Plugins menu from WordPress admin panel.
a. Download the plugin from CodeCanyon
b. Log in to your WordPress admin panel
c. go to Plugins -> Add New -> Upload
d. Click on choose file and browse the download package from CodeCanyon. When the plugin uploads successfully, click on Activate Plugin.
In General Setting you will able to see “Zapier Configuration” links under “ARForms” menu in admin menu list.
Zapier Configuration
Go to the Zapier Configuration page and click on Configure New Form button to map one of your forms with the Zapier webhook trigger.
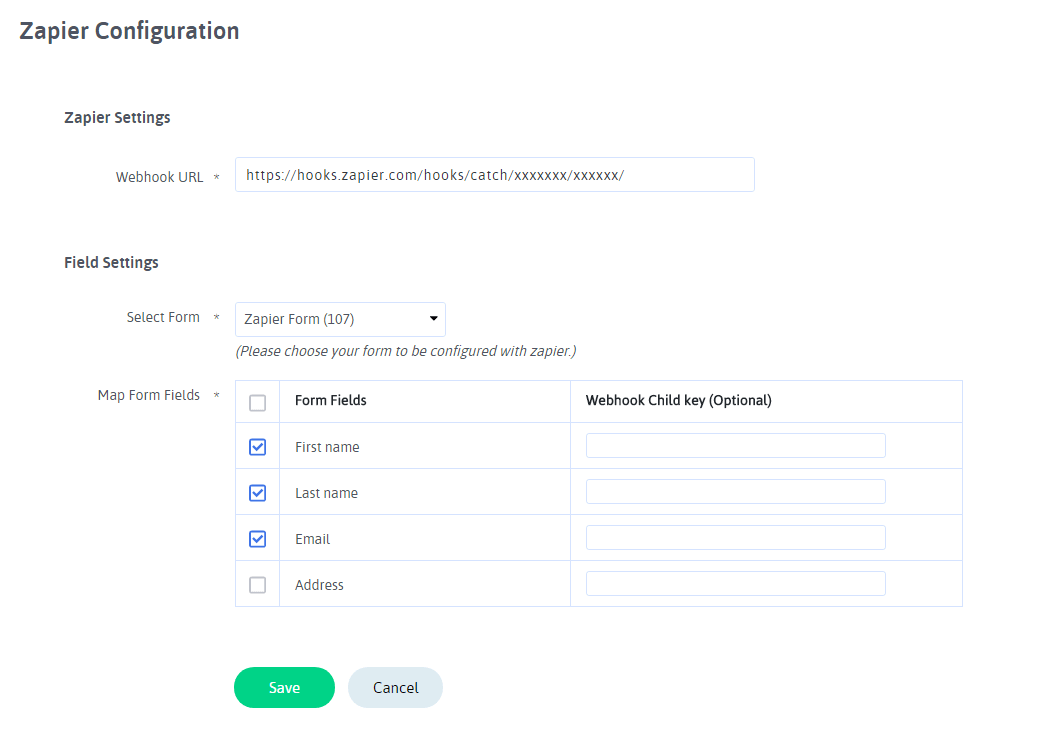
Here you need to enter Webhook URL which is given by Zapier when you create your ZAP with Webhooks trigger, further information about how to create ZAP in Zapier is explained below. Select your form here you will have the fields list visible here. Select fields that you want to send data in Zapier after form submission successfully.
Another thing is here is Webhook Child key which optional but if you need to send data using your custom parameter then enter parameter name here, default it will be field label that you have set for fields.
Interaction with Zapier
How to create ZAP in Zapier?
First of all login to your Zapier account. For login to Zapier account Click here
If you do not have zapier account then Create zapier account.
After login to your zapier account. Please follow the below steps for Create a zap or How to setup trigger in zapier.
- Click on the “MAKE A ZAP” button from your Dashboard page.
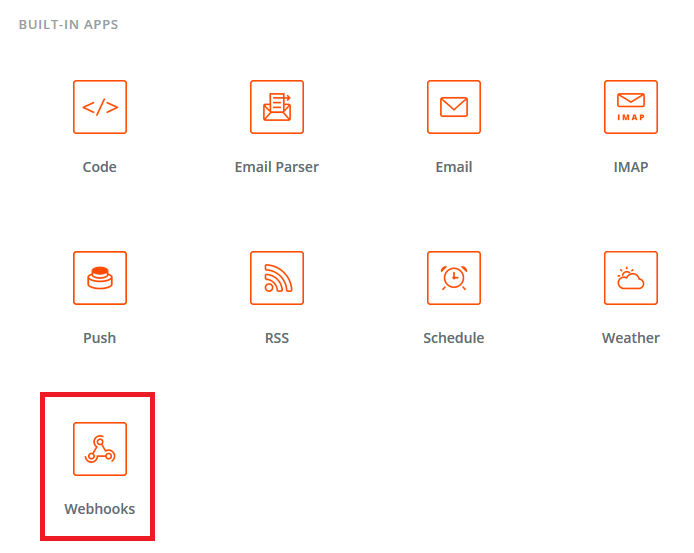
- For set Trigger you need to select “Webhooks” app from the “Built-In” apps list.
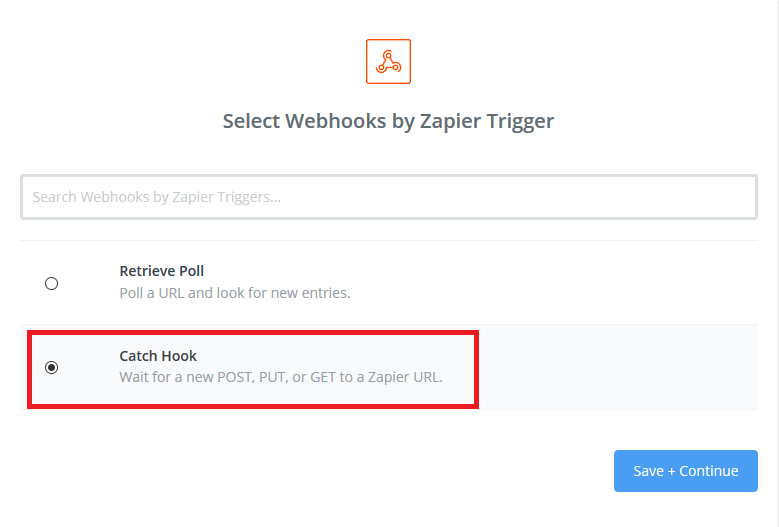
- Then after you need to select the app trigger. There you need to select “Catch Hook”. It’s important that you select this trigger otherwise the integration will not work.
- After select the trigger click on “Save + Continue” button.
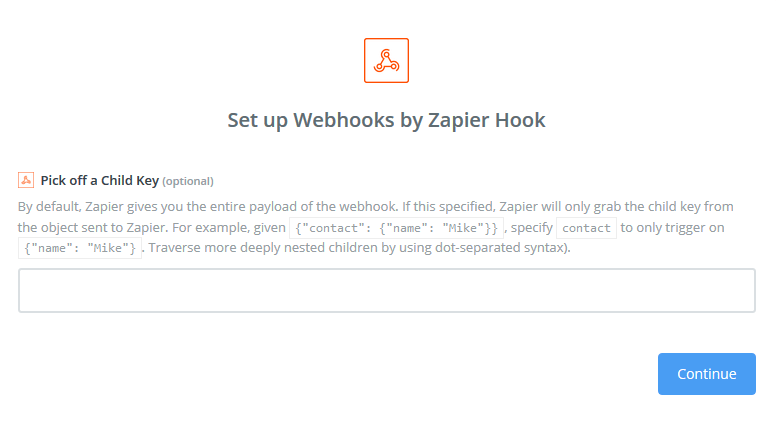
- Then the below screen will be display.
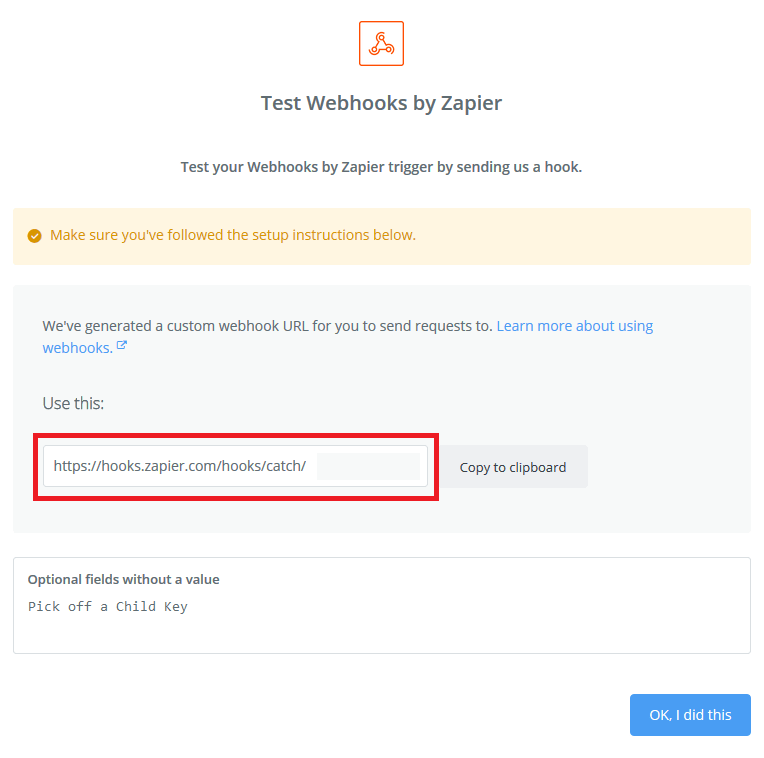
- Click on “Continue” button so you will see the below screen.
- Copy the Webhook URL and set it into “Webhook URL” in ARForms Zapier configuration.
- After save the ARForms Form, Click on “OK, I did this” button on your Zapier account.
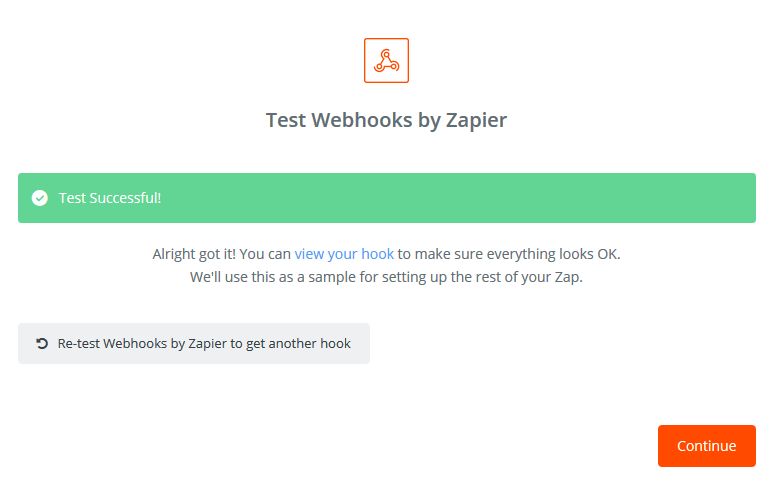
- Now submit your form from front-end.
- Click on the “Continue” button. You have successfully set the trigger in your Zapier account.
- Now you can set the action in your Zapier account.
- For more information about how to create a zap Click here.
Please see below screen.
There is no need enter any text in the text box. So you will be able to get all field list that you selected on zapier setting page in zapier action.
If you specify the child key from the object then you will only access the child key in action.
So the Zapier webhook is tested and the field list will be displayed in Action. You must test the trigger otherwise the field list will not appear in the action app.
When you did the action on the website then you can see the below screen in your Zapier account.
Select the app that you want to set action and select action for the selected app.
You can connect a new account or If you have already connected an account, Than select a specific account. After connecting the app you need to set the required field and test the connected app.
After connect the app need to set required field and test the connected app.
When you successfully test the connected app then after click on the “finish” button and insert ZAP name. If created ZAP is on in your Zapier account then the data will be synchronized..
Change log
Version 1.1 (02 January, 2020)
- Added compatiblity for ARForms version 4.0
- Minor bug fixes